 Reading Time: 7 minutes
A couple of weeks ago I mentioned that the next device we looked at on Heat not Burn UK would be the PAX 3 from Pax Labs. That’s sparked some excitement from just about everyone I know who’s ever used a loose-leaf vaporiser to inhale anything, which didn’t really come as a surprise. After all, if there’s a device that every other vaporiser on the market ends up being measured against, the PAX 3 is it.
This gadget is the follow-on to the already legendary PAX 2, and it follows the same basic principles. There are some significant upgrades, though, including improved battery life and better software. It also adds the ability to use wax concentrates, but that isn’t something we’ll be looking at – our only interest in the device is how good it is for vaping tobacco.
Last month we reviewed the Vapour 2 Pro Series 7, which works on the same principle as the PAX 3; it has an internal chamber that you can load up with tobacco, and when you power it up the contents of the chamber get heated enough to release a vapour that you can inhale. It doesn’t get heated enough to actually burn the tobacco, so you avoid all the tar, carbon monoxide and other assorted cag that cigarettes create.
Although the basic principle is the same as the Series 7, the PAX 3 has a few major differences in how it’s laid out. In fact, while the Series 7 turned out to be pretty impressive after I figured out how to use it, the PAX feels like it’s in a whole different class. The question is, did its performance measure up? Let’s find out.
The Review
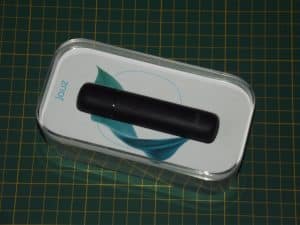
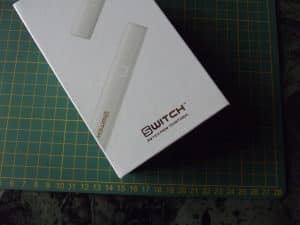
I think I mentioned in one of my videos that HnB products tend to come in really nice boxes. Well, the PAX 3 takes that to a whole new level. This is the nicest box I’ve seen for any kind of vaporiser. In fact it’s probably the nicest box I’ve ever seen for anything that didn’t come from a jeweller’s shop and cost a month’s wages.

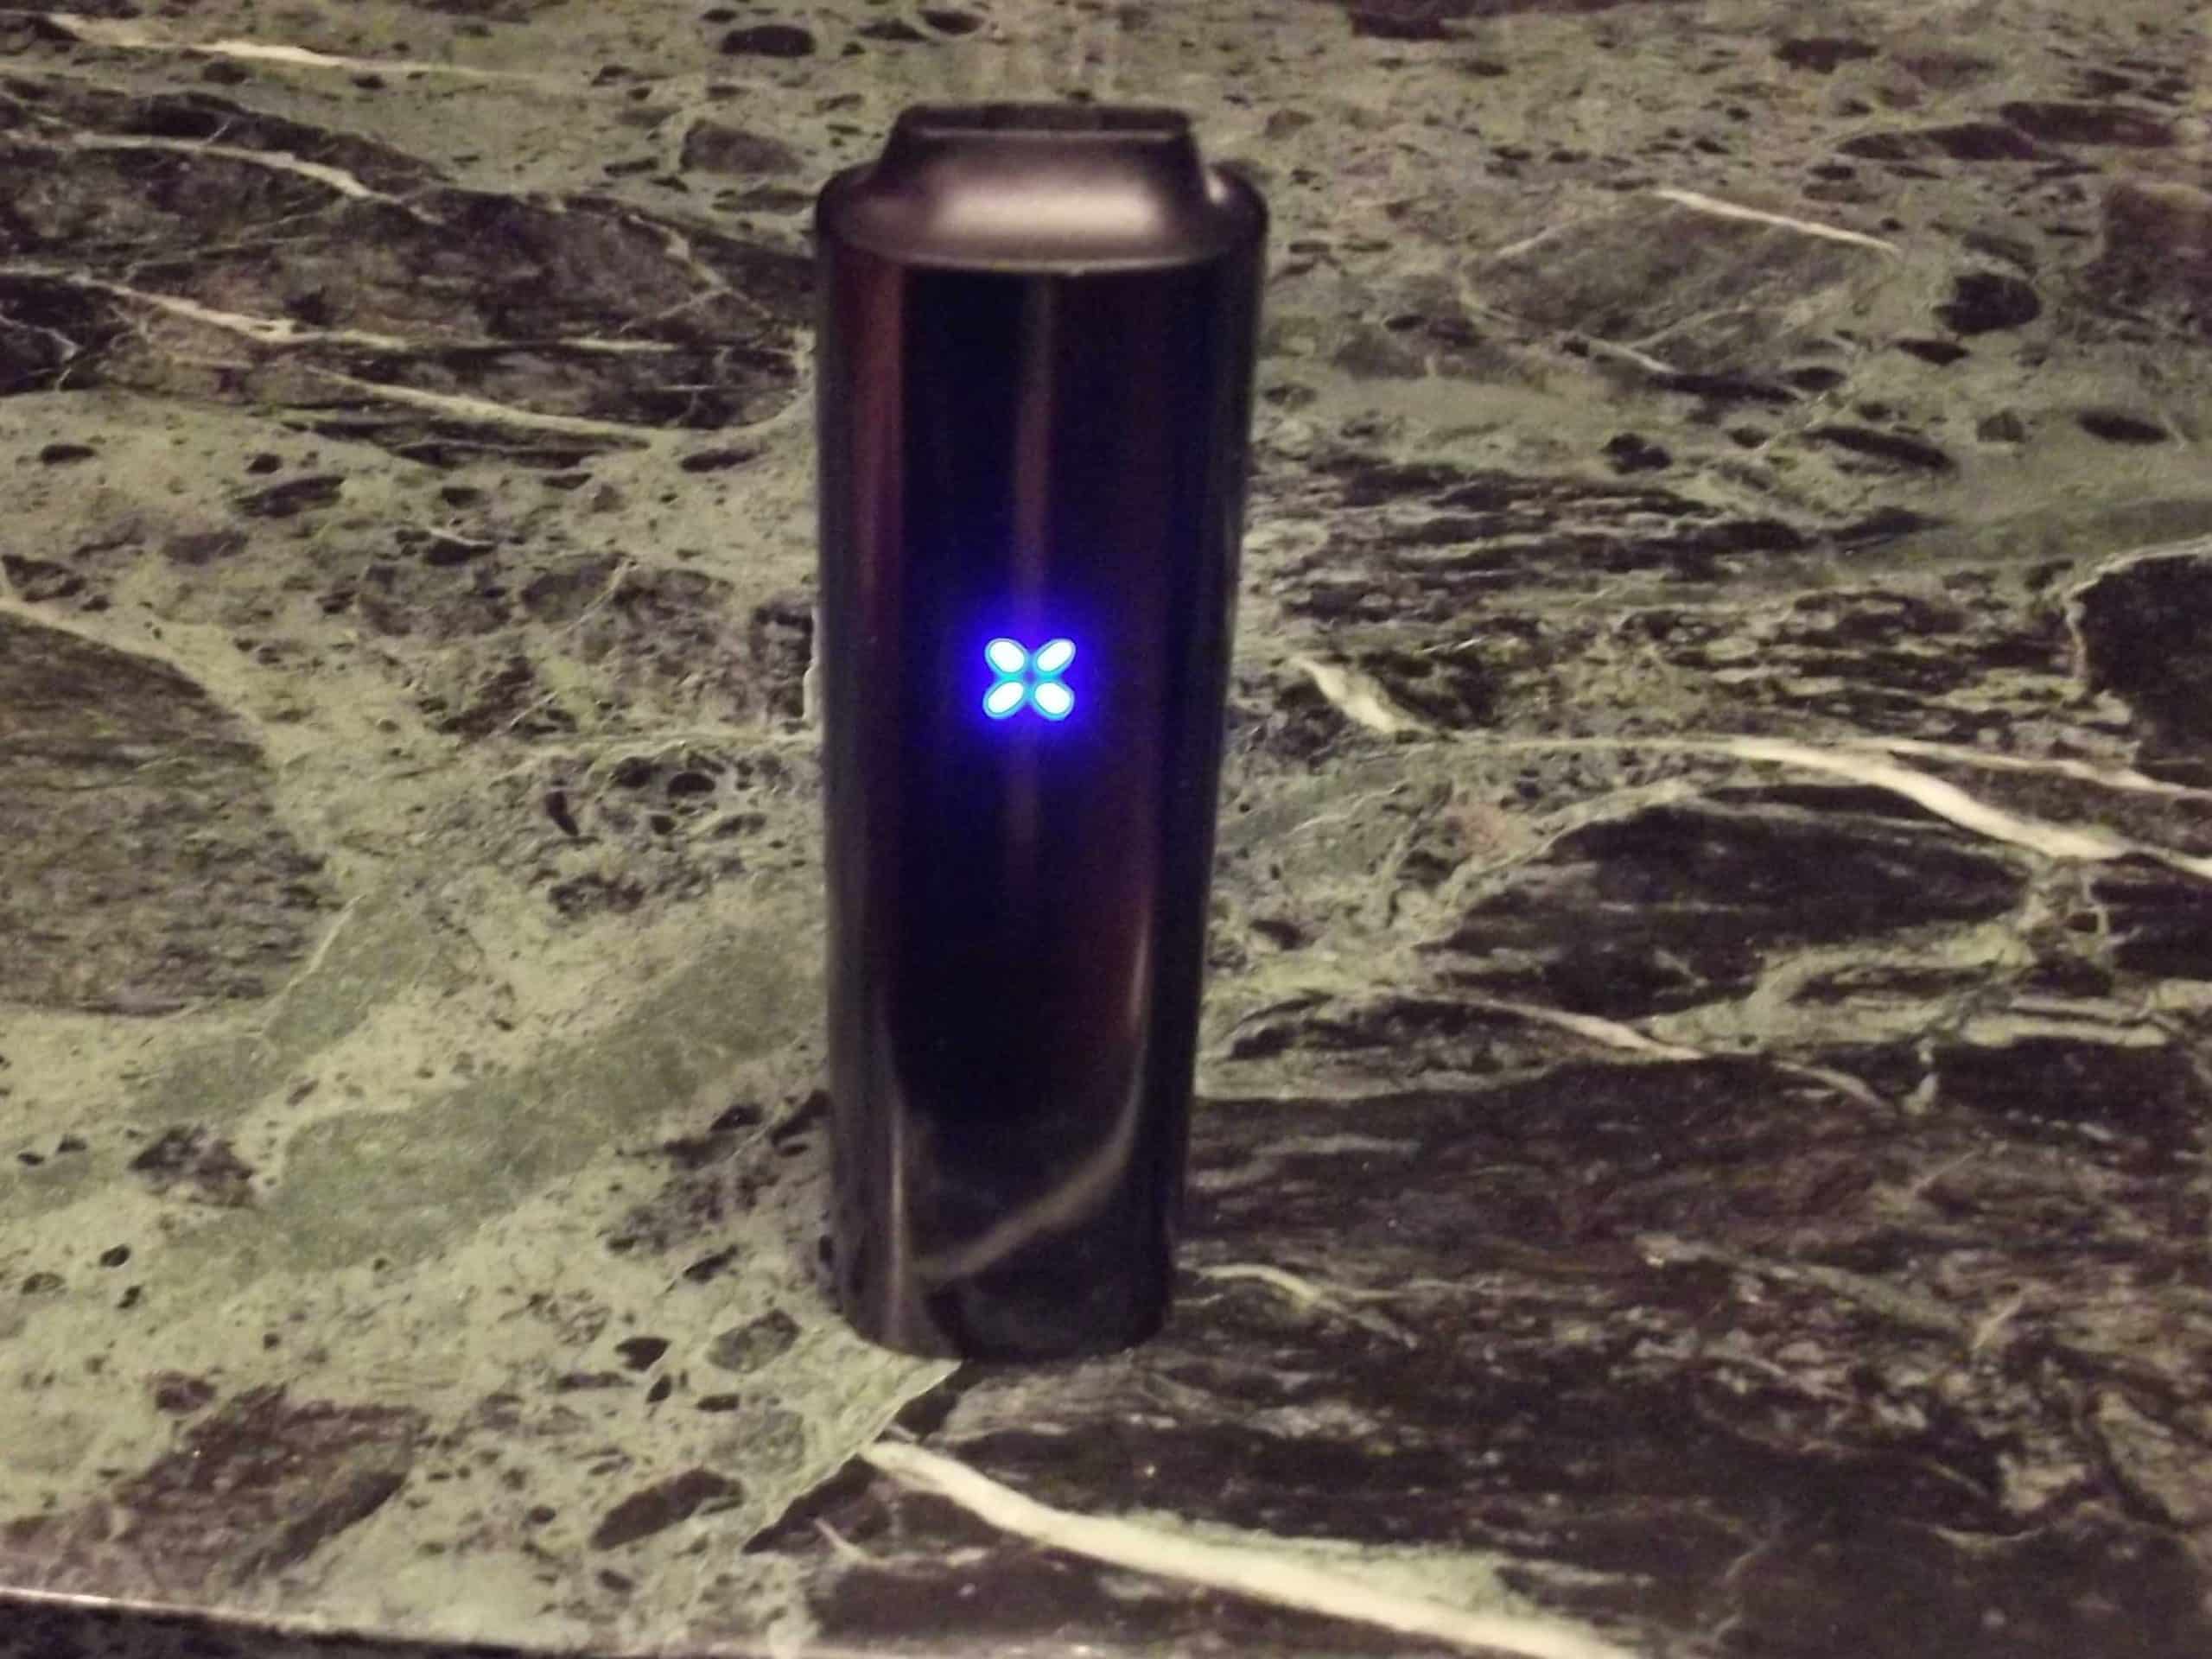
Desperate to get to the good stuff, I opened the flap with the Pax logo and there was the vaporiser, sitting all alone in a little cut-out. It’s much simpler than the Vapour 2 Pro, bordering on minimalist; the body is a single piece of anodised aluminium, polished to a glassy finish, with a rubber top cap and plastic base. It’s slightly chunkier than the PAX 2 but still very compact and slim. There are no visible controls; on the front there’s just a Pax logo illuminated by four LEDs; on the back you’ll find two brass contacts, the device name and serial number.
It turns out the only control is under the rubber top cap, which also serves as a mouthpiece; to turn it on you just press down on the centre of the cap until the Pax logo lights up. Holding the button for two seconds opens the temperature select mode. There are four temperature options; press the button to cycle through them, and the petals on the logo light up one by one to show how hot it will get.
The plastic bottom cap covers the heating chamber; just press one side of it and it pops out. The chamber itself looks slightly smaller than the Vapour 2 Pro’s, and there’s a replaceable metal screen at the bottom to keep tobacco out of the device’s innards.
The PAX 3 is beautifully made; there’s no other words for it. The finish is perfect (although a bit of a fingerprint magnet) and everything fits together immaculately. It’s also very light – lighter than the Vapour 2 Pro or any e-cig I own – but feels strong and solid. A definite ten out of ten for workmanship.
Anyway, as I took the vaporiser out, I noticed that the card around it was loose. Removing that, I found it concealed two more items – the charger and USB cable. The charger is a simple cradle that you lay the device on, and magnets will line the contacts up correctly. It’s very simple to use, and should also be well sealed and robust.
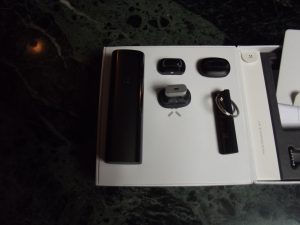
The other side of the box has lots of stuff in it, and some of it’s not too obvious at first. There’s a card on top, giving instructions on how to register the device and download the Pax app (do both). Then, underneath, is an assortment of bits and pieces. A white pad conceals the tiny instruction manual, which you should definitely read. There’s a key ring, which turns out to be a simple multitool; its rubber body is for tamping leaves into the heating chamber, and the inlaid metal strip with the Pax logo is a cleaning tool. A box marked “Maintenance kit” holds some pipe cleaners and a brush.
Next, there’s another mouthpiece and two bases. The standard mouthpiece is flat, with a slot at one side for the vapour. The spare one is raised, if you prefer that shape. There’s also a base with an inner chamber for wax concentrates, which we won’t bother with, and a second dry herb one with an insert to let you half-fill the chamber. That might be important for certain herbs, but it isn’t with tobacco – the chamber isn’t huge. So we won’t bother with that one either. Finally, you get three spare screens for the heating chamber and an extra O-ring for the concentrate chamber.
The next step was to charge the battery, which was easy and only took a couple of hours. The charger really is easy to use, and the Pax logo shows how the battery’s doing. The four “petals” of the logo will pulse white and progressively light up as the charge rises, and glow solidly when it hits 100%.
Right, on to the test! I loaded the chamber with tobacco from a fresh pouch, taking care not to pack it too tightly, then activated the PAX 3. This is easy; just press the button – don’t hold; just press. Instantly the LEDs in the logo flash white, then turn purple – when they’re purple that means the PAX is heating up. And it heats up fast. Even with the temperature set to maximum the logo turned from purple to green in less than 25 seconds, and that was it ready to go. All that was left was to start vaping it.
This is where things get a bit mixed. Here’s the good news: With the temperature set at maximum, the vapour from the PAX 3 is the best I’ve found from any Heat not Burn device so far. There’s plenty of it and the taste is great. After one puff I was extremely impressed. After the second I was pretty much ecstatic. Then it started to go downhill.
The third puff gave almost no vapour at all, and the next couple were the same. There was still a faint taste, but it wasn’t very satisfying. At this point I put the device down and let it sit for a moment to build up vapour, then tried again. By doing that I got a couple more reasonable puffs out of it, but then it dried up for good.
Unlike the Vapour 2 Pro the PAX 3 doesn’t automatically cut off after a set time; you have to switch it off using the button (it will turn off if it’s left untouched for three minutes). So I turned it off, let it cool down, emptied the chamber (the cleaning tool works very well) and had a poke at the tobacco. It was bone dry, so my guess is that it stopped producing vapour because there was nothing left to evaporate.

If you’re trying to replicate the experience of smoking this is a bit of a drawback. You can expect to get about ten good puffs from a cigarette, but you’re going to have to reload the PAX 3 four or five times to match that.
Conclusion
From everything I’ve heard about the PAX 3, it’s unrivalled as a device for vaping substances of a more herbal nature – but, for tobacco, it doesn’t have the same edge. It’s a beautifully made device with good battery life (it packs in 3,500mAh, compared to the PAX 2’s 3,000mAh), and it’s simple to use, but if you’re mainly interested in tobacco I don’t think it’s the best option. If you really want a loose-leaf tobacco vaporiser the Vapour 2 is at least as good and a lot cheaper; if convenience and performance are what matters most, go for an iQOS.
Video Review






I have been using hnb products for almost a year now. IQOS, XMAX, PAX3. I have also used a wide variety of tobaccos, Heets, aromatic pipe tobaccos, and hand rolling tobacco along with volume tobacco (which is loose volume increased tobacco) for use with empty filter tubes. These are my unscientific results along with a few tips.
1. For sheer flavour and consistent vapour production HEETS beat the opposition hands down.
2. Heating regular rolling tobacco produces pretty disappointing results UNLESS you do one or more of 3 things. They are all methods to increase the moisture content in the tobacco.
3. The first method consists of placing a small amount of fruit in the tobacco pouch. Apple, pear, cherry and sultanas all work well and prolong the production of vapour using dry leaf vaporisers.
4. The second method is to replicate the function of propylene glycol as used by PMI in HEETS. Using a pippete and a 40g pouch of non volume rolling tobacco, add between 20 -60ml of PG to your tobacco pouch and finger mix the two together. This combination vaped at between 150c and 210c will prolong the production of tobacco flavoured vape, such that you should easily be able to Vale consistently for 5 mins without any diminished flavour or Vape consistency. The only downside to this seems to be that the initial puffs are a little overpowering, but you have to remember that PG is used in ecig liquid to replicate the ‘throat hit’ sensation of smoking a normal cigarette.
5. I have found that by adding VG and PG to the tobacco mix it is possible to reduce the initial sense of being overwhelmed during the first few puffs. Additionally, this mixture seems to produce more Vape, a much, much, longer duration and an all round smoother taste. This can be put to great use with pipe tobaccos, especially the aromatic pipe tobaccos. I don’t know why this is the case but I suspect that PG and VG increase the levels of acidity in the tobacco. As a general rule cigarette tobaccos are acidic whilst pipe tobaccos are alkaline. If all three methods are combined (fruit, PG and VG) with tobacco, the result is a long lasting full flavour with a considerable amount of aerosol. All of these add substantially to the experience, and if done carefully produce a very pleasant HNB experience.
Many thanks for such an excellent and well informed reply Steve, appreciated!
It is such a beautifully well made device and using your excellent advice will help some people deal with the flaws the device has with regards to the actual vaping of it. 🙂
Sounds like the author of this article used rolling tobacco as opposed to pipe tobacco, but the makers of Pax recommend using pipe tobacco because of its higher moisture. Rolling tobacco is relatively dry and that’s why you need to add PG and/or VG if you really want to use it for vaping (as Steve explained above).